Linux Commands frequently used by Linux Sysadmins – Part 5
This is the final part of the five-part series entitled: Linux Commands frequently used by Linux Sysadmins. So far, we’ve covered over 50 commands regularly used by Linux sysadmins and power users. Refer to part 1, part 2, part 3, and part 4.
This article will look into another set of commands and command-line tools frequently used to edit text files, view file contents, system diagnostics, kill processes, and other administrative tasks performed on Linux systems. Later, I will also create another page to interlink all five parts and summarize all the commands covered.
Whether you’re a Linux desktop power user or an experienced Linux sysadmin,
you’ll find yourself using these commands frequently. (Part 5 of 5)
Over the years, I’ve found there’s often more than one way of accomplishing things on Linux. For example, I would learn one way of performing a task to find out later that there’s a more efficient way to accomplish the same task. Let’s start with one such case.
1. vi – text editor.
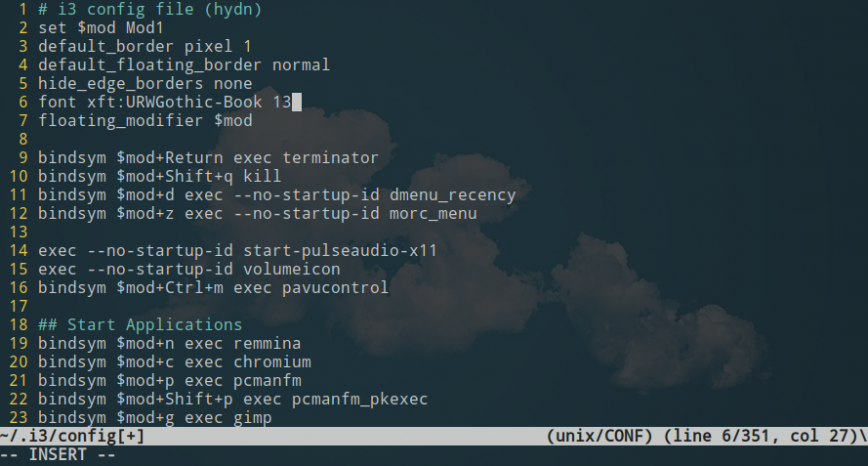
Using vim editor to edit my i3 config file.
When you first start with Linux, it’s common that you will gravitate to using nano. This is because, for new users, the first time you attempt to edit text files, it will often be during system setup. So, you open vi for the first time, without any experience, and usually desiring to complete edits as fast as possible to keep exploring your new system. As such, you may give up on using vi and, instead, opt to perform your edits in a simpler text editor, nano. However, over time, many of us will eventually switch from nano (or other GUI text editors) to vi, vim, or neovim.
If you haven’t already, I highly recommend giving vim a try! Make it a goal to learn the first ten or so important vim operational commands. (Here’s a vim cheat sheet.)
2. cat – display file contents.

The cat command, derived from the word concatenate, allows you to view a file’s contents without opening the said file. The cat command can also be used to redirect the contents of text files into other files or to create new text files. Here are some examples of using cat.
To print the contents of a file to the standard output, use:
cat file_name
To concatenate several files into the target file, use:
cat file_name1 file_name2 > file_name
Append several files into the target file:
cat file_name1 file_name2 >> file_name
To show the line number in output, use ‘-n‘.
tac – output file contents, in reverse.

To print and concatenate files in reverse, use:
tac file_name
To print the output of a command reversed, use:
command | tac
3. more – display file contents one screen/page at a time.
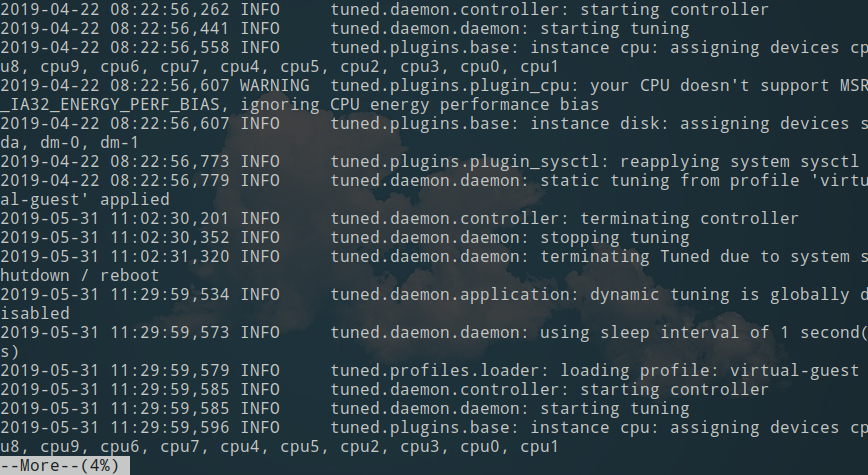
Like the cat command, which can display a text file’s contents, the more command also displays a text file’s contents. The main difference is that in larger files, the cat command displays the entire file’s contents, no matter how long, whereas the more command displays its output one screenful or page at a time.
This allows you to page through the output in easier to digest format, which is useful for error logs and other such files that can grow to be thousands of lines long.
To open a file, with more use:
more file_name
You can set the # of lines each page should contain using:
more -10 file_name
You can start more output from a specific line number using:
more +20 file_name
You can use the more command with cat, for example:
cat file_name | more
— To page down, use the <Space> bar.
— To search for a string type ‘/yourquery’.
less – similar to the more command with additional features.
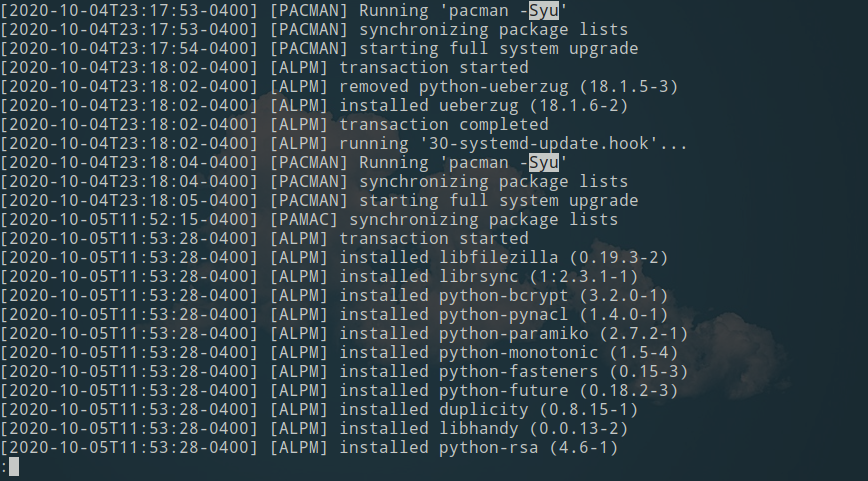
less output of pacman‘s log file.
This brings us to less. Remember that saying, “less is more”? This is a classic example of that. Similar to more, the less command allows you to view and navigate file contents. However, the A command is faster than the B command because it does not need to load the complete file before starting. It also provides bidirectional navigation using the page up/down and arrow up/down keys.
In short, more is less user-friendly, while less is more user-friendly. Due to this, and because of its speed and additional features, the less command should be your preferred choice in most cases.
To open a file with less use:
less file_name
— To forward search for a string type /yourquery then, press n to go to the next match or N to go to the previous match.
— To backward search for a string type ?yourquery.
— To go to the end of the file, use G, and use g to go to the start.
— To follow the output of the currently opened file, use F. (similar to the tail command discussed next).
— To open the current file in an editor, use v.
Check out this less command cheat sheet.
4. tail – used to display the tail end of a text file or piped data.

The tail command is a command-line utility used to view the tail end of text files. By default, the tail command returns the last ten (10) lines of a file. You can also follow a file in real-time using the tail command, making it perfect for observing log files as new lines are saved.
To show the last x number of lines in a file, use:
tail -n x file_name
To show all lines since line number x:
tail -n +x file_name
To show the last x bytes of a file, use:
tail -c x file_name
To watch a file in real-time (Ctrl + C to stop), use:
(or ‘-F‘ to keep reading even if the file is rotated)
tail -f file_name
To show the last x lines in a file and refresh every x seconds, use:
tail -n x -s x -f file
For example:
tail -n 25 -s 5 -f /var/log/nginx/access.log
5. dmesg – prints the message buffer of the kernel ring.
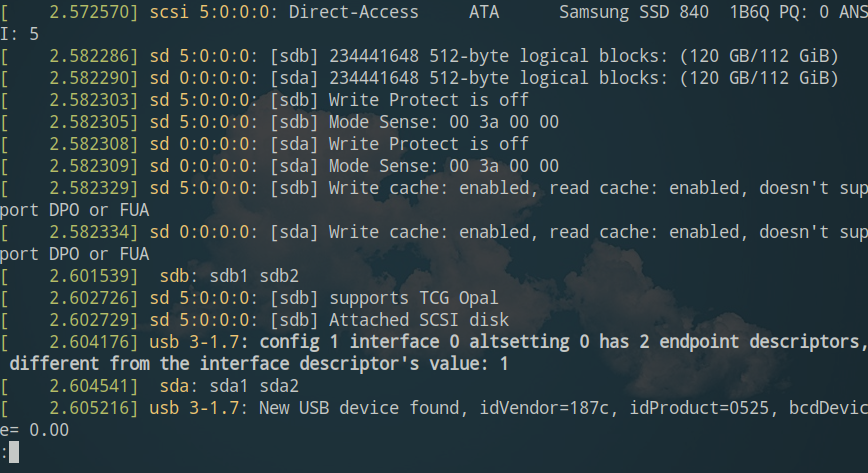
$ sudo dmesg –color=always | less -R
The kernel ring buffer is a data structure that records system messages linked to the kernel’s operation. As the name suggests, this buffer always remains at a constant size, with the oldest messages being removed when new messages come in.
On various Unix-like systems, including Linux, the boot process produces a very dense output of kernel messages. Oftentimes, system diagnostics such as failed hardware will start with inspecting the kernel logs. Dmesg allows you to review and monitor hardware device and driver messages from the kernel’s own ring buffer. This makes dmesg quite useful for troubleshooting.
For example, to troubleshoot in real-time, you can use the following:
dmesg --follow
This works similarly to the tail command. After running the above command, you can plug and unplug USB devices, connect to WiFi or ethernet, and other hardware devices you would like to troubleshoot.
To show error and warning messages only, use:
dmesg --level=err,warn
To see a full listing of USB-related messages, issue the dmesg command with grep for ‘USB’:
dmesg | grep -i usb
Useful reading: dmesg explained.
journalctl – query the systemd journal.
Systemd has its own logging system called the journal. To read those logs, journalctl is used. For example, to display only kernel messages with journalctl you can add the -k or –dmesg flags to your command:
journalctl -dmesg
The journal (journald) stores log data in binary format, unlike past services that stored logs in plain text. As such, journalctl is used to transmute binary logs into readable plain text. Check out The ultimate guide to using journalctl.
Another good read is kmsg. Kmsg (/dev/kmsg) is a file stored in the Linux filesystem, used to store messages from the Kernel, and is used by dmesg and klogd.
6. kill – terminate a process.
At times, you’ll need to stop an application or command-line process from running. For this, Unix-like systems such as Linux offer the command-line tool called kill. The kill command was partially covered in the article How to Kill Inactive SSH Sessions. The first step is to find the PID (process ID) of the process you would like to kill. For this, you can use top, htop, ps, pstree, and other tools to find the PID you’d like to stop.
To list all available kill signals, use:
kill -l
[hydn@alien ~]$ kill -l
1) SIGHUP 2) SIGINT 3) SIGQUIT 4) SIGILL 5) SIGTRAP
6) SIGABRT 7) SIGBUS 8) SIGFPE 9) SIGKILL 10) SIGUSR1
...
As an example, if you would like to kill a stuck process (9 SIGKILL) with PID of 3649, you can use the following command:
kill 3649
or
kill sigkill 3649
or
kill -9 3649
killall – Sends a kill signal to all instances of a process by name.
List available signal names (to be used without the ‘SIG’ prefix):
killall --list
To terminate a process using the default SIGTERM (terminate) signal, use:
killall process_name
To interactively ask for confirmation before termination, use:
killall -i process_name
To force kill a process, use:
killall -KILL process_name
7. sleep – suspends program execution for a specified time.
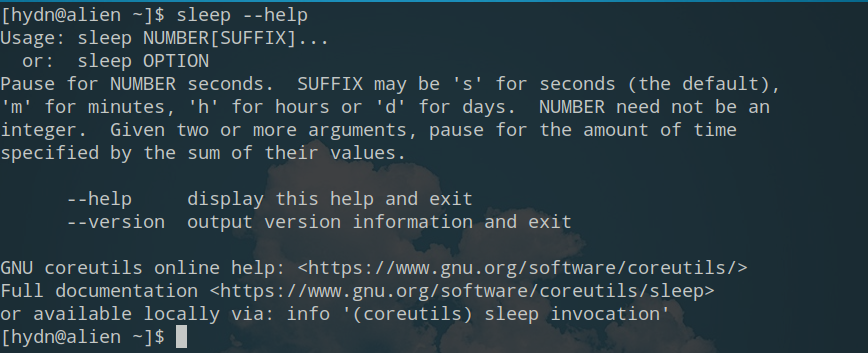
sleep pauses for an amount of time specified by values in the command line arguments.
Syntax:
sleep NUMBER[SUFFIX]
There are 100’s of useful ways to use sleep. You can use it where ever you need a timed delay. For example, during boot, you can use sleep to delay the launch of certain processes, you can use sleep to run a command after a specific delay in time, you can use sleep for a delay and add a delay between resource-intensive scripts or tasks, etc., etc. The default time value is in seconds, but you can also use ‘m‘ for minutes, ‘h‘ for hours, and ‘d‘ for days. Remember; also we covered cron in Part 3.
Also, see the wait command.
8. nohup – Run Commands in the Background.
nohup, is short for no hangups. Ordinarily, when you exit from the terminal or a remote ssh session, the command-line processes we initiated will also be terminated. The nohup command is a convenient solution to keep processes running in the background even if you exit the terminal or log out of a remote SSH session.
Command syntax:
nohup [command] [options]
Here’s an example:
[root@host ~]# nohup ./backup.sh
nohup: ignoring input and appending output to ‘nohup.out’
[root@host ~]#
By default, nohup will save the output to nohup.out. If you would like to stop that output, use:
nohup ./backup.sh >/dev/null 2>&1 &
screen – hold a session open on a remote server. (also a full-screen window manager)
As an alternative to nohup, you can use screen. Screen is a terminal multiplexer (used to multiplex several virtual consoles), allowing users to access separate login sessions inside a single terminal window or to detach and reattach to sessions from a terminal.
Learning screen:
Also, see tmux.
9. passwd – change a user’s password.
This is a command that we should use to change passwords frequently. The passwd command is used to change a user’s password. The password entered is used by a key derivation function to create a hashed version of the new password. Only the hashed password is saved; the plain text password is not saved.
To change the password of the current user interactively, use:
passwd
To immediately change the password of the current user, use:
passwd new_password
To change the password of the specified user, use:
passwd username new_password
To get the current password status/date of the user, use:
passwd -S
Also, see chpassword.
10. mount – provides access to an entire file system in one directory.
The mount command instructs the Linux operating system that a file system is ready for use, associates it with a particular ‘mount point’ in the file system, and sets options relating to its access. Mounting makes file systems, files, directories, and devices available for use.
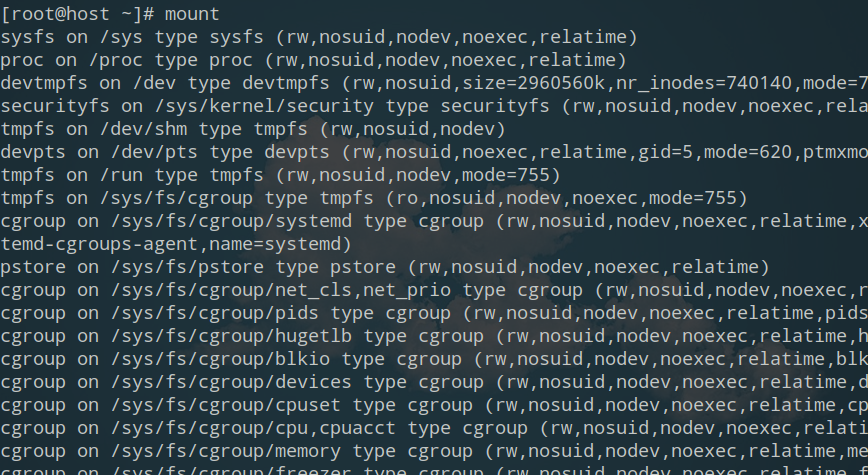
To show all mounted file systems, use:
mount
To mount all the file system defined in /etc/fstab, use:
mount -a
Learning the mount and mount commands:
- Mounting a file system – Redhat
Also, see, umount.
Additional frequently used Linux commands not covered in parts 1 – 5:
systemctl– Managing Services (Daemons) | Understanding and administering systems.clear– clears the screen of the terminal.env-Run a command in a modified environment.- Your suggestions here (add via comments).
Conclusion
80+ commands have been included in this series! About half of the commands listed above, in part 5 of this series, includes alternative commands. This is really what makes Linux thrilling, there are often many options available to perform the same tasks. This allows us you get really, really, comfortable with our Linux distro of choice, albeit our favorite Linux desktop distro or favorite Linux server distro.
Next, I will be posting another series of articles related to additional commands, Linux tips, and Linux performance. If you enjoy articles like these, please subscribe and share. Thanks!
< Previous: Linux Commands frequently used by Linux Sysadmins – Part 4
I also want to add the
headcommand to the list. It’s the same as thetailcommand, but it shows the beginning of the file instead.I generally use that command to check file content with the first lines if it’s what I’m looking for. It’s very useful especially if the file is too large.