LEMP Raspberry Pi 2 Web Server – Arch Linux, Nginx, MariaDB (MySQL) & PHP
Download the Latest LEMP Raspberry Pi 2 Web Server Image
To Do:
– Update my.cnf for RPi2 (1G of memory) and enable InnoDB by default.
– Fix broken PHP modules. (gd, imap and mcrypt)
Change log
09-16-2015 – Fixed sshd root access and enabled autostart of sshd on boot.
09-12-2015 – Tested image on 3 different Raspberry Pi 2 boards.
09-10-2015 – Performed pacman -Syu
09-10-2015 – Updated to work with Raspberry Pi 2 (Arm7). Old version for first gen Raspberry Pi Arm6 can be downloaded here.
Known Bugs
– When using the wifi-menu command to connect to the internet instead of a network cable. There’s the following output: “cfg80211: Calling CRDA to update world regulatory domain” …this can be safely ignored. Let me know if you find the fix in comments below. I’ve tried several. It does not affect the function of wifi.
Software versions
– Arch Linux ARM (Rolling release. Use pacman -Syu to check for updates)
– Nginx 1.8
– MariaDB 10.0.21
– PHP 5.6
– Zend Opcache 7.0.6-dev
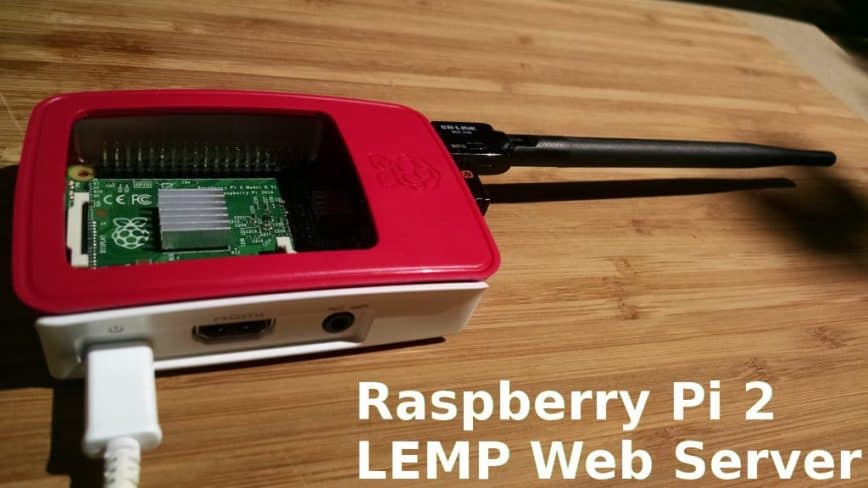
LEMP for Raspberry Pi 2
Turn your Raspberry Pi into a Nginx HTTP server with Arch Linux ARM + Nginx + MariaDB(MySQL) + PHP. Preconfigured and packaged into a downloadable image.
Requirements
- Raspberry Pi 2 Model B
- Power adapter with at least 1.5 amp (2+ amp recommended)
- Fat32 formatted 4GB SD Card (8GB+ Recommended)
- Network Cable for Internet access. (or use a wifi dongle)
Installation
- Download the LEMP Raspberry Pi image: archlemp-rpi2.img.tar.gz
- Extract it. eg: sudo tar zxf archlemp-rpi2.img.tar.gz
- Write extracted image to SD card. eg: sudo dd if=arch-lemp-rpi.img of=/dev/sdx …change sdx if necessary. Don’t run this command if unsure!!!
- Recommended – extend partition to use all of disk. You can use gparted. (Also see: http://elinux.org/RPi_Resize_Flash_Partitions)
- Plug your internet cable and the LEMP installed SD card into your Raspberry… power it on.
Root access
user: root
pass: root (please change password! Use passwd command)
MySQL root
user: root
password: changeme
Nginx/PHP web root
/usr/share/nginx/html/
If you are using WiFi instead of network cable to connect to the internet, then use the following command to connect to your SSID:
wifi-menu
To test Nignx simply visit your Raspberry Pi’s IP address from a web browser. You’ll see the standard Nginx test page. You can also test PHP by visiting …your.ip/info.php. (replace ‘your.ip’ with the RPi2’s IP address).
Download LEMP for your Raspberry Pi via SourceForge.net
Here’s a screenshot of top stats after boot…
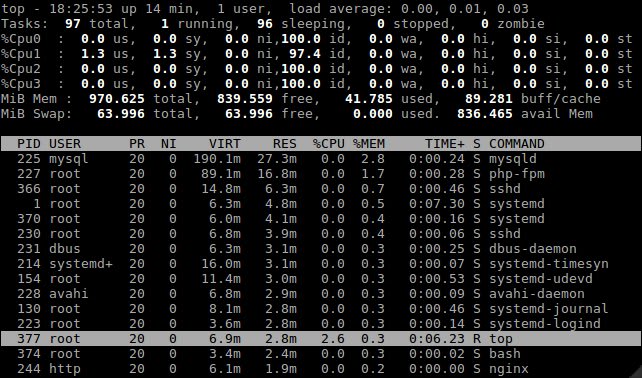
This LEMP install is fairly default. Allowing you the opportunity to tweak to your satisfaction. Once you install a MySQL database you may need to edit /etc/mysql/my.cnf as the memory settings I used there might be too restrictive. But be warned, you don’t have much RAM to work with on a Raspberry Pi 2 so don’t increase buffers and caches to large in /etc/mysql/my.cnf (you can enable query_cache for starters). Swapping to the SD card would be pretty terrible for performance so I added very little swap and vm.swappiness was changed from 60 to 1. I’ve tested with WordPress 4.3 and it works fast.
Also see…
- Download LEMP for Raspberry Pi (first gen): Nginx + MariaDB (MySQL) + PHP
- Download Arch Linux Raspberry Pi WiFi Access Point Image
- Raspberry Pi Safe Overclocking
- What to buy for your Raspberry Pi